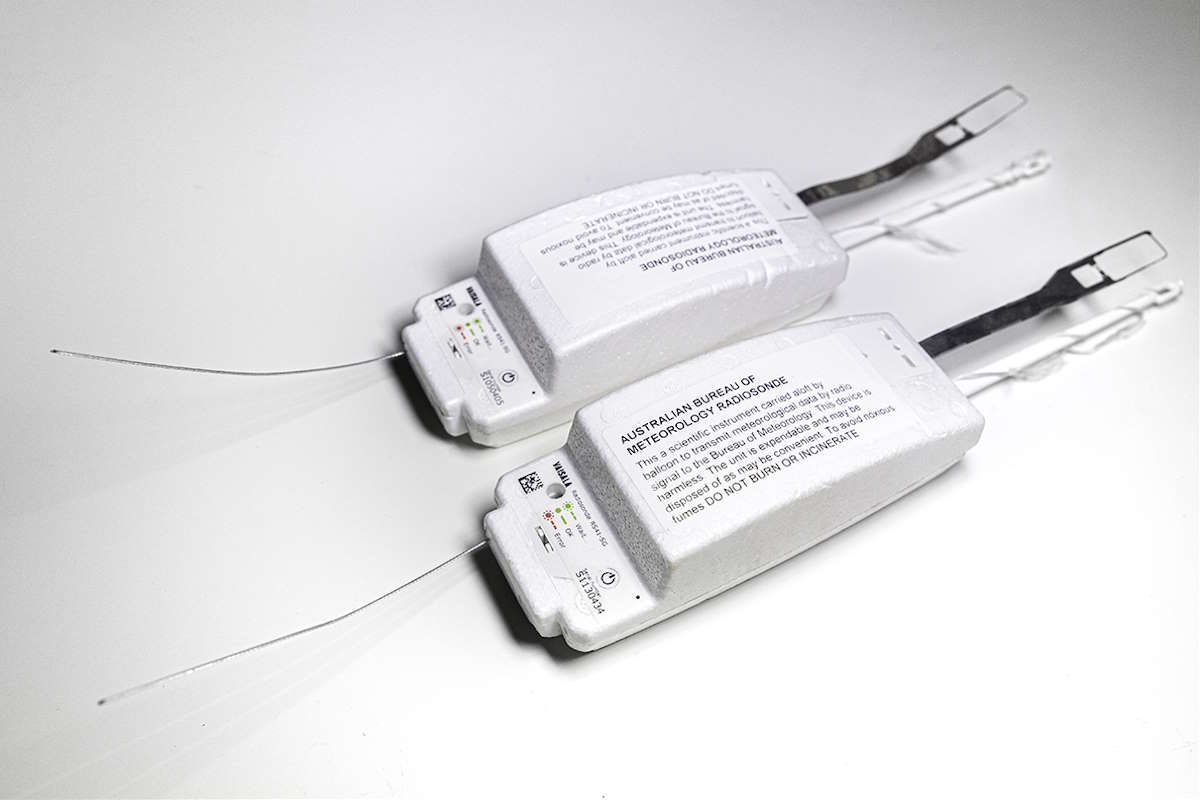
Only a few weeks ago, I was introduced to the world of radiosondes through an amazingly informative video from Andreas Spiess. By lunchtime the next day, I had one in my hands.
These devices pack so many things I’m interested in into one little box; weather forecasting, radio telemetry, high-altitude ballooning and long-distance radio transmission and reception. Honestly, I’m amazed I hadn’t looked into it sooner, but making up for lost time I’ve already snagged three radiosondes and even made a new friend in a fellow hunter.
This post intends to pick up where Andreas left off, covering the following:
- Antennas setup performance comparisons
- Setup of a ground tracking station using radiosonde_auto_rx
- Contributing data to radiosondy.info and habhub.org
There’s already a couple of sites out there that you can track launches for nearly their entire flight such as radiosondy.info and habhub.org (aka sondehub.org). These sites rely on crowd-sourced data and while there’s coverage in my area, I’m interested in direct telemetry reception, and there’s definitely no harm in feeding additional data to these services since I’m putting together a ground station to receive it.
Antenna performance testing
Three main antenna setups were tested:
- RTL-SDR Blog dipole antenna adjusted to 1/2 wavelength
- Multi-band discone antenna
- Custom 1/4 wavelength ground plane antenna
Despite the radiosonde’s low transmit power (60mW), you’re almost guaranteed line-of-sight for most of the flight, making them super easy to receive. This means even basic kit will do an acceptable job of receiving radiosondes, though as I’ll show later you will definitely benefit from a decent antenna.
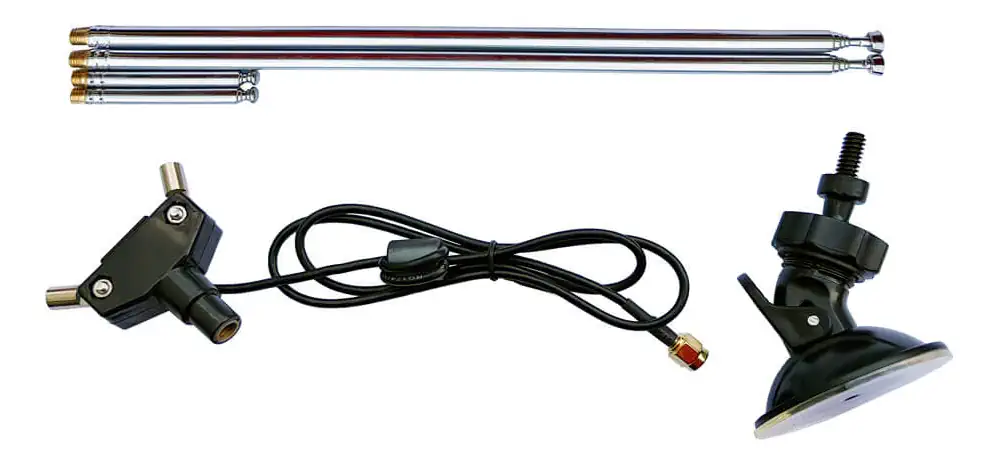
Challenger 1: RTL-SDR Blog dipole antenna
I picked up this kit from the RTL-SDR Blog’s store, and it’s great as a fixed-frequency testing rig.
Mounted horizontally on a west-facing window and adjusted to 1/2 wavelength (74.6cm per side) I honestly wasn’t expecting much, especially once the balloon moved east of my house, but was surprised to track a couple of radiosondes to over 120km south-east.
As expected, visibility was lost at low to mid altitudes, and reception was quite unpredictable, but absolutely fine for experimentation, portable use or just proof-of-concept.
Pros: Cheap, quick, indoor/outdoor use, temporary
Cons: Somewhat directional reception if wall mounted, average performance, temporary
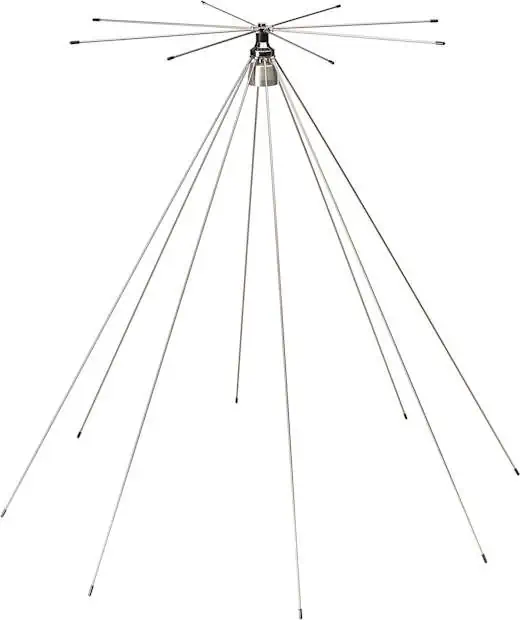
Challenger 2: Discone antenna
I’ve had this antenna on my roof for years and it’s served well as my general purpose SDR antenna. Unfortunately, being a wideband antenna, it’s actually fairly bad at everything.
It performed marginally better than the dipole, however had a tendency to lose the radiosonde for extended periods depending on the vertical angle of the sonde relative to my station; these designs are known for having greatest sensitivity toward the horizon, making them largely unsuitable for our purpose.
Pros: Transmit capable
Cons: Relatively deaf, needs proper mounting hardware
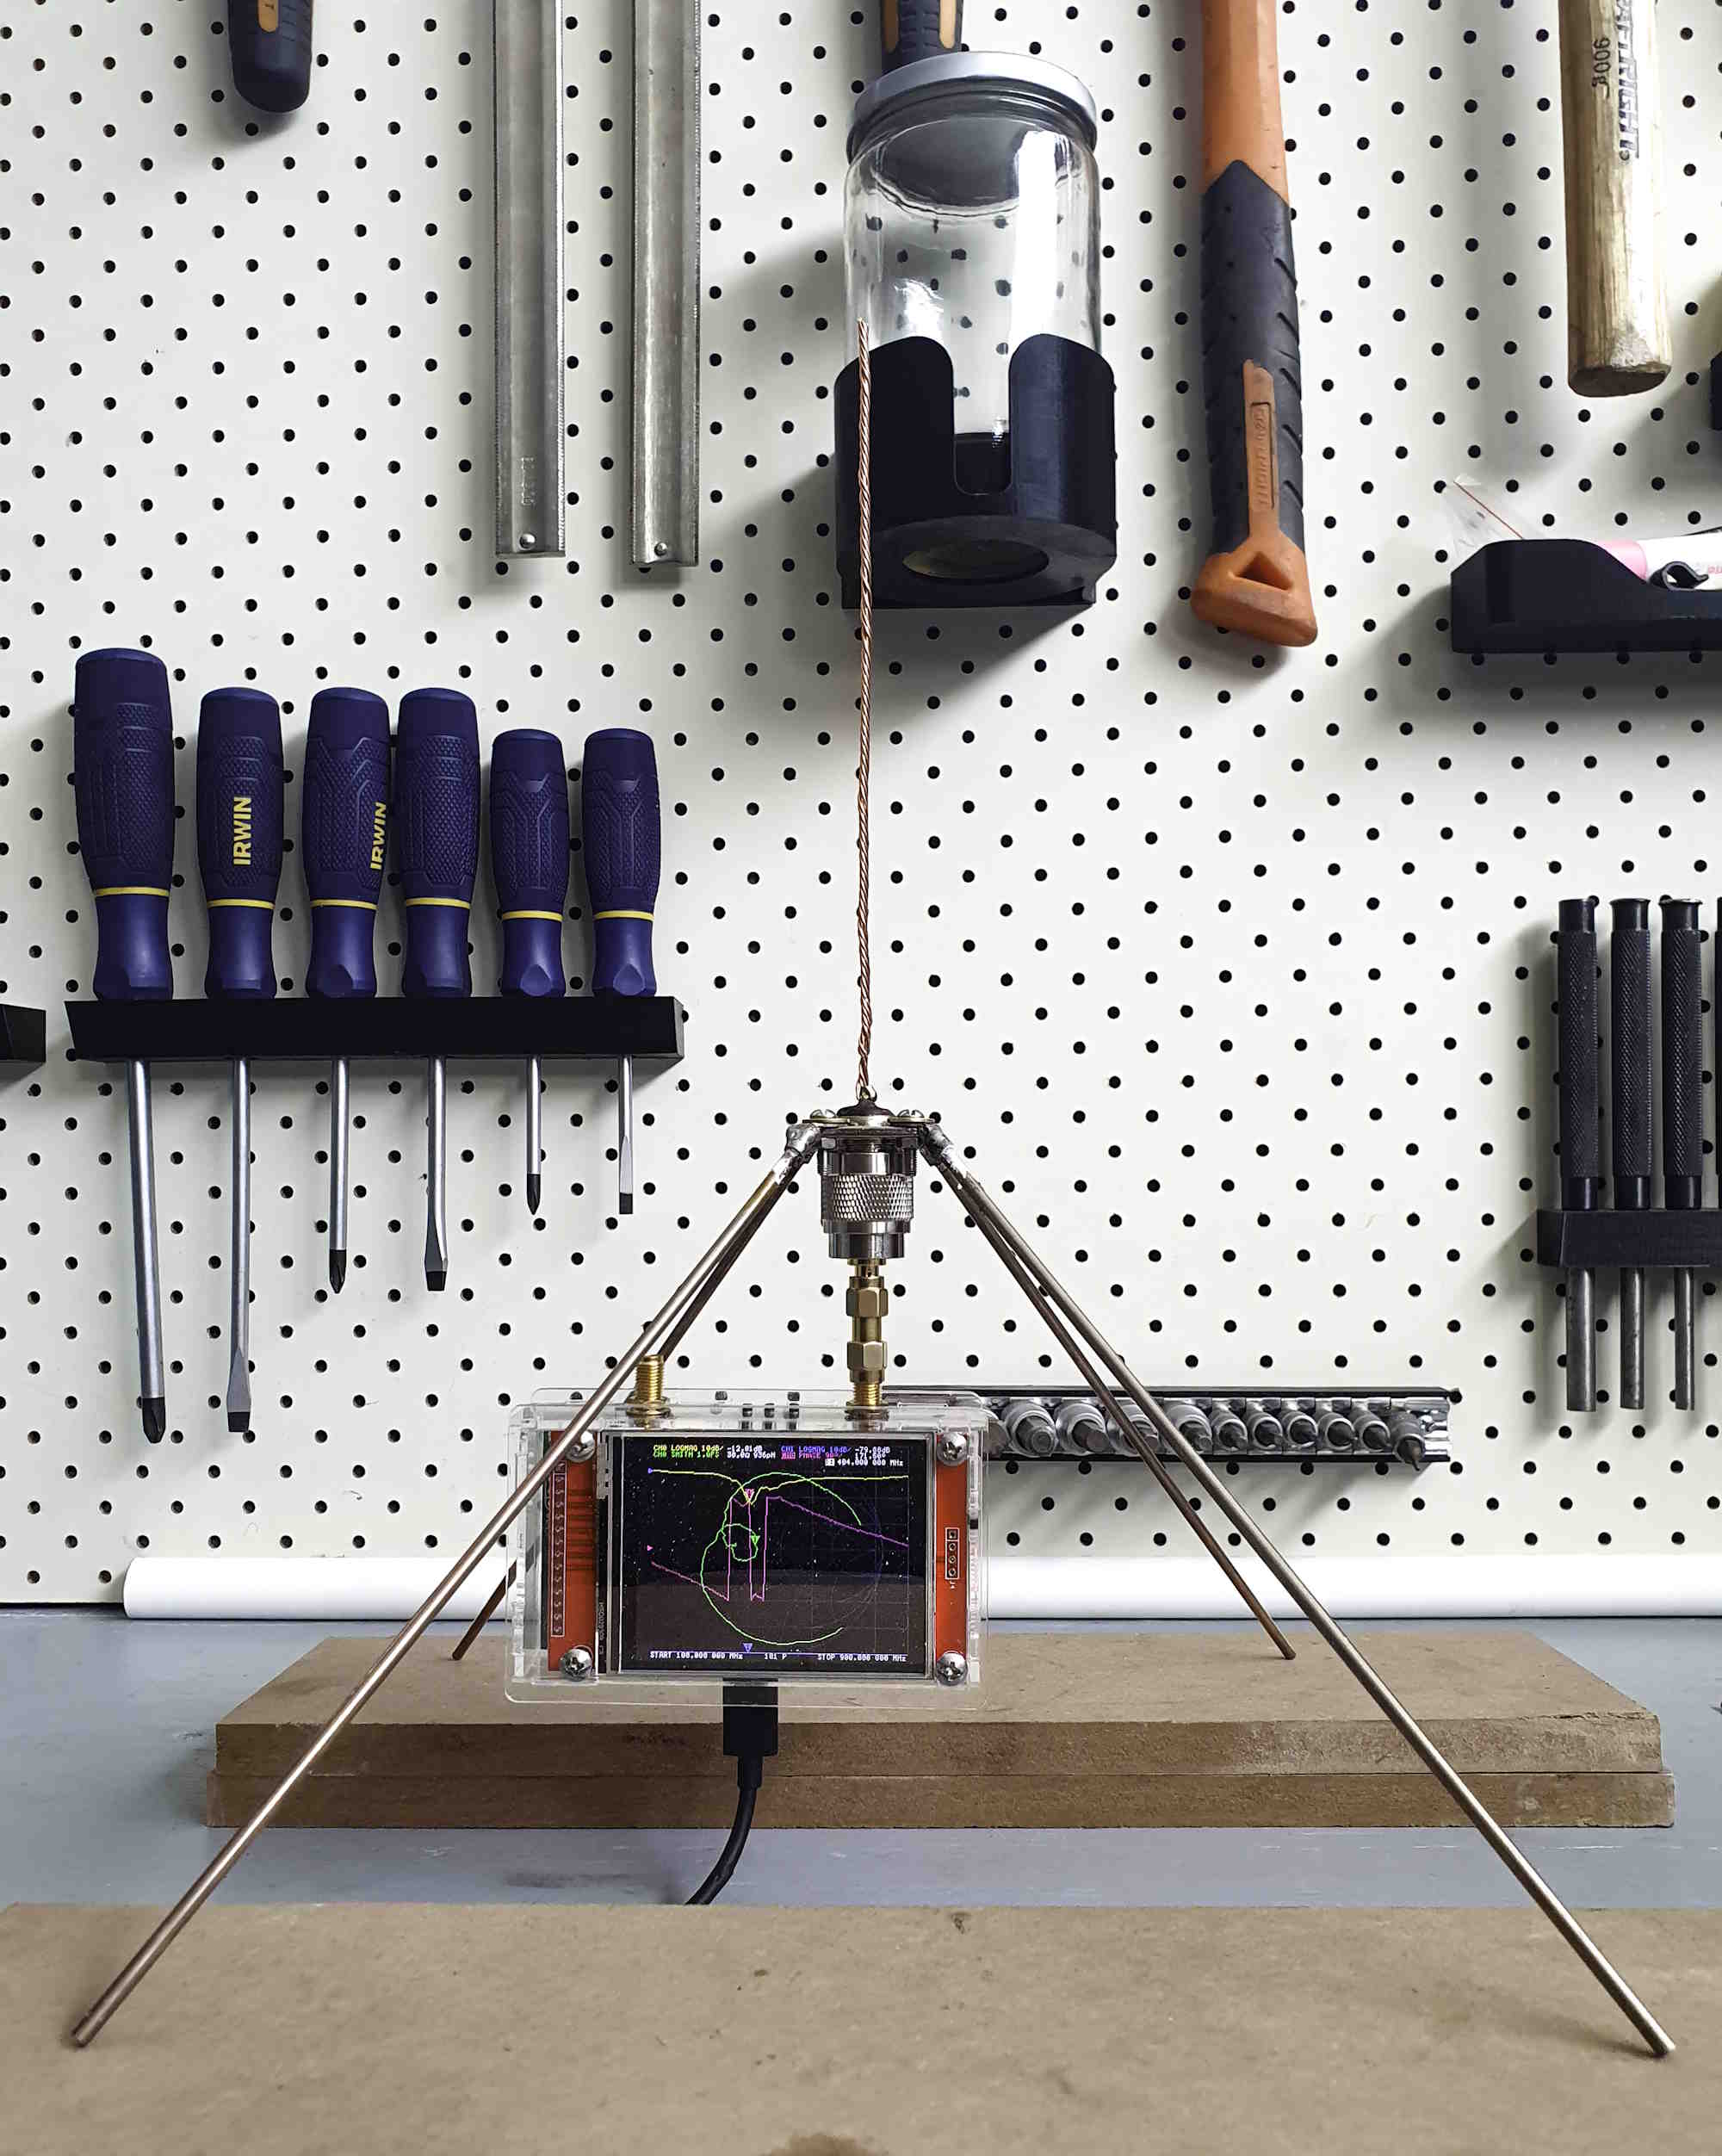
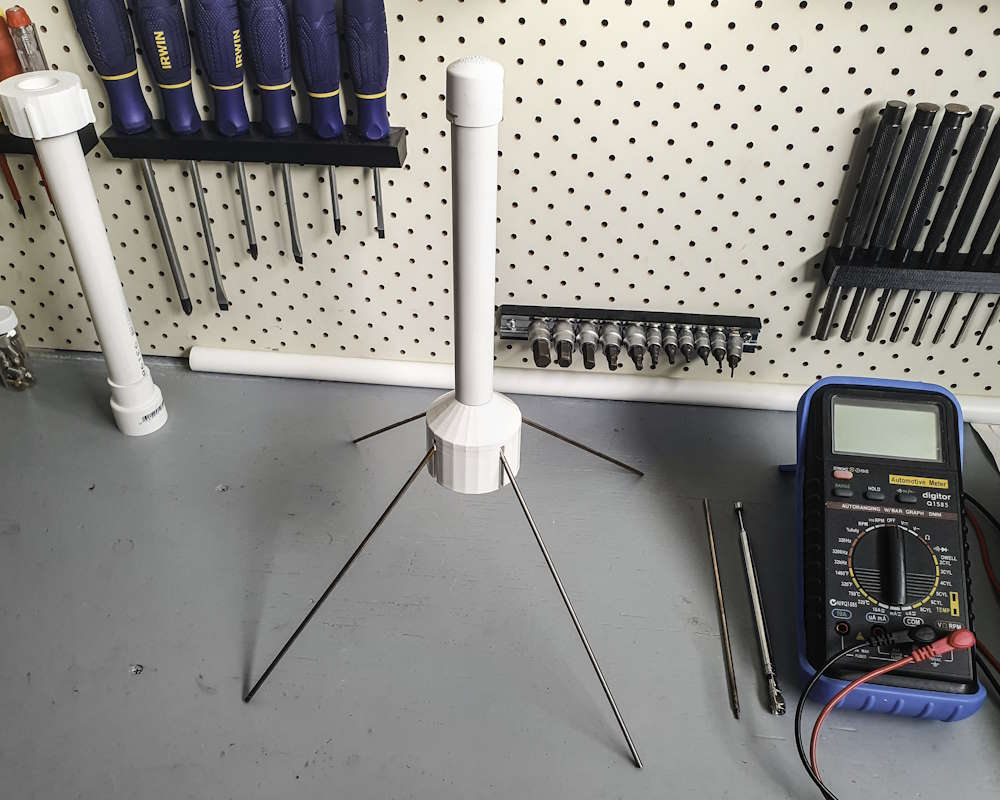
Challenger 3: DIY quarter-wave ground plane antenna
I’ve been wanting to build a proper antenna for a while, and this was my chance. Following M0UKD’s 1/4 Wave Ground Plane Antenna Calculator and with some pointers from my newly-made hunting friend, I put this together with some brazing rods from Bunnings and an SO259 panel mount connector from Jaycar. The top element is made from some stripped and twisted household copper wiring, which is much easier to trim for making fine tuning adjustments.
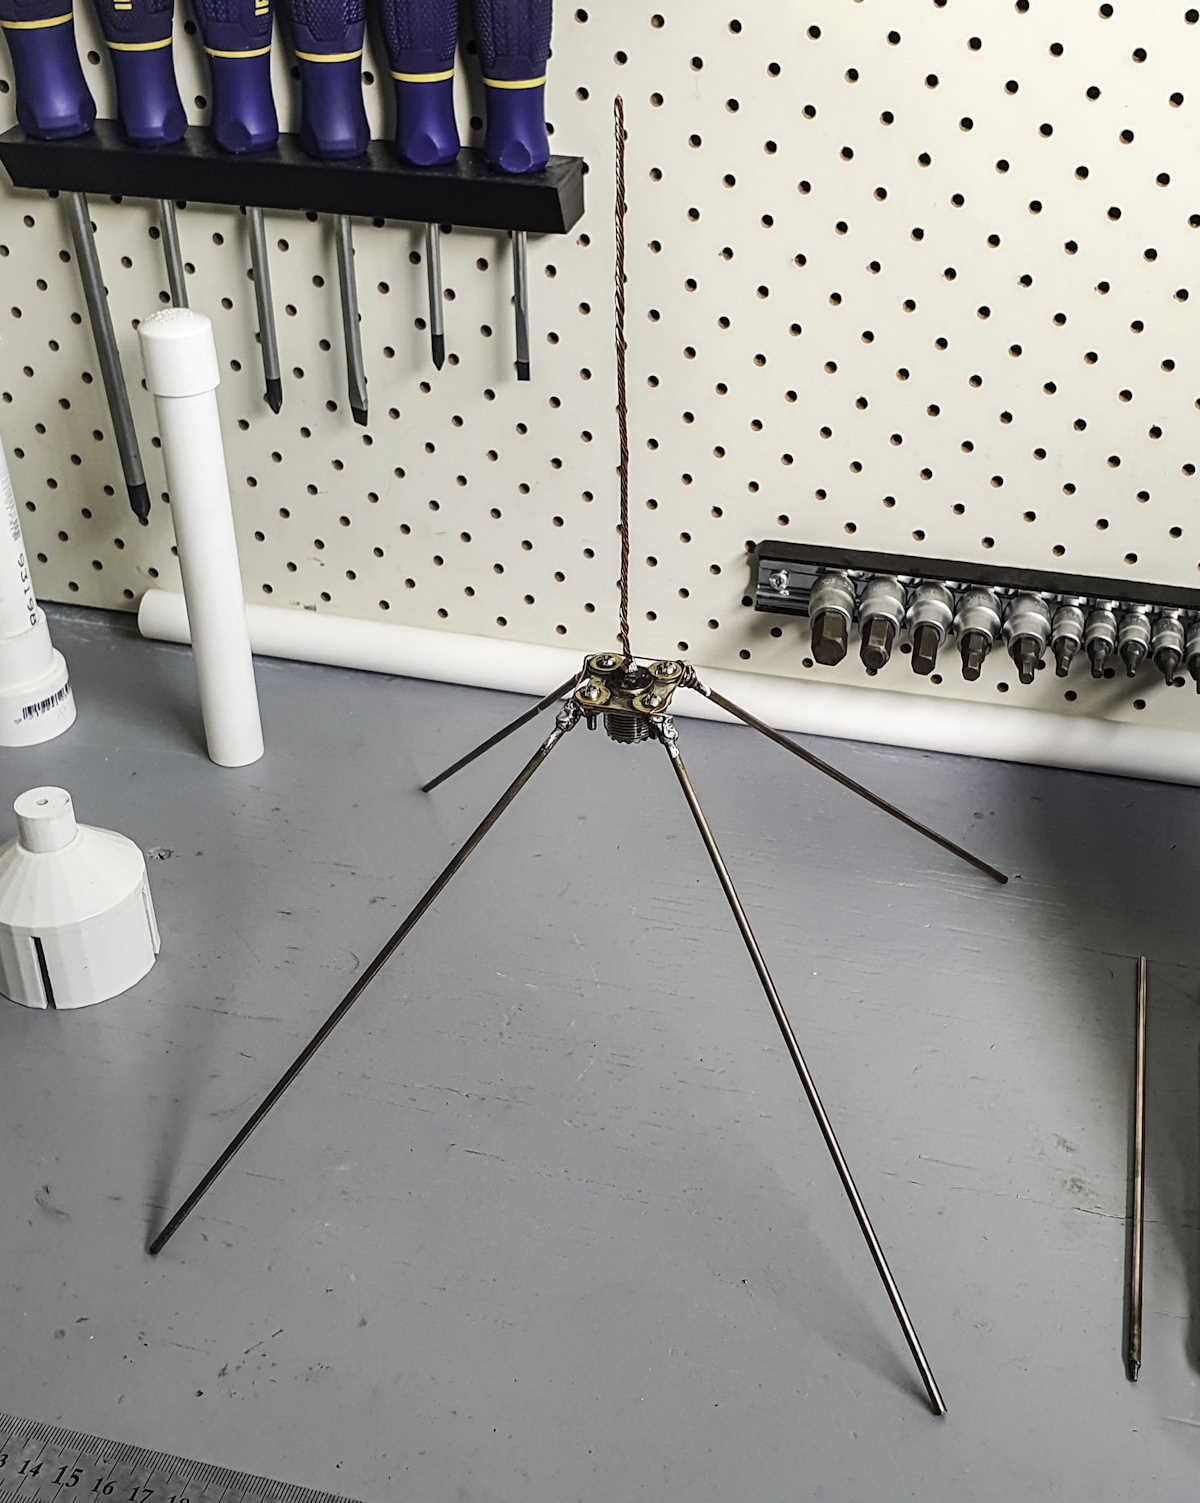
Once assembled, I borrowed a mate’s NanoVNA and used this to fine-tune the antenna, which showed that the upright element needed to be trimmed about 10mm shorter than the maths had me believe. I suspect more experimenting with the tuning of the ground radials would give a better result, however due to their permanent soldering in-place I didn’t want to shorten them, just in case. It’s important to note that encasing it in PVC will affect the velocity factor, meaning each adjustment must be checked with the casing in place. I found this shifted the response down about 5-6 MHz.
I designed, 3D printed and painted a basic weather cap for it and cut some PVC pipe to cover the top element. Pipe cement seems to do a fine job of adhering to PLA, and a bit of silicone around the gaps above the ground radials doesn’t hurt. You can download the STL from Thingiverse here.
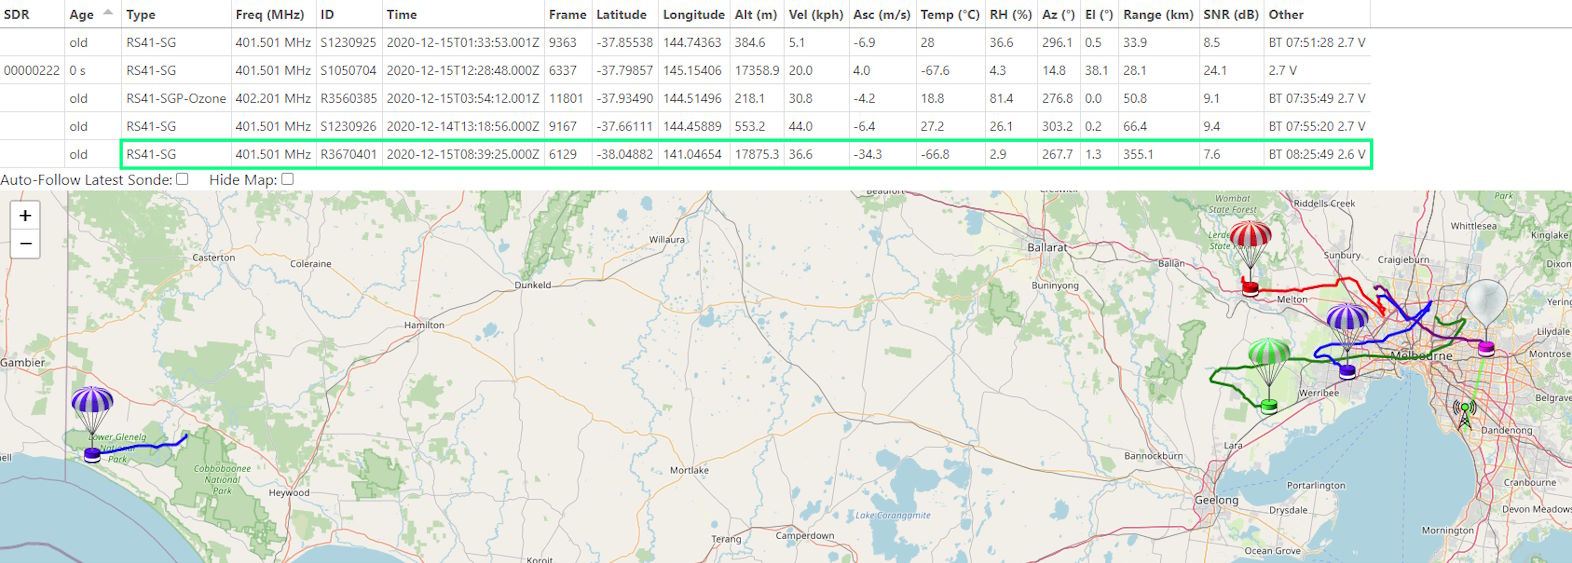
Not surprisingly, this thing wipes the floor with the other antennas! Side by side with the discone, signal-to-noise was on average between 10 and 20dB better, with consistent tracking through the entire flight. Performance was further proven when a balloon launched from Mt. Gambier was heard for close to 30 minutes, as far as 355km away.
In all, clearly a very effective antenna for around $20.
Pros: Cheap, effective
Cons: Some effort to build, VNA required for precise tuning
Receiving station setup
The next step is to set up radiosonde_auto_rx. Developed by Mark Jessop (who has written extensively about radiosondes) and Michaela Wheeler, this will run happily on a Raspberry Pi 3 or newer (it will also run on an overclocked Pi 2, but at stock speeds it’ll max out a core and miss packets.)
I won’t go into detail on the install it’s documented perfectly over on their wiki. Be sure to pay special attention to the ExecStart and WorkingDirectory fields in Section 3.5.1 if you clone the repository to a different location.
Make sure your location is accurate; this not only enables auto_rx to calculate the distance of the radiosonde, but can also be optionally shown on the map when uploading to hubhub.org or radiosondy.info (so maybe fudge the numbers slightly!)
[location]
station_lat = -37.987
station_lon = 145.123
station_alt = 10.0
Additionally, you might want to keep the last few days’ worth of radiosondes loaded; by default they’re no longer shown after 2 hours. Just change the following setting:
[web]
archive_age = 120
Be aware that setting this to higher values may result in slower loading times or memory consumption.
Data upload to habhub.org
Next, we configure the device for habhub – open the station.cfg file in your radiosonde_auto_rx/auto_rx directory, and edit the following items:
[habitat]
habitat_enabled = True
uploader_callsign = YOUR_CS_HERE
If you want your station to be shown on the map, also update these:
upload_listener_position = True
uploader_antenna = Antenna make/model or description
That’s it! I’ve found that habhub tends to be quite busy and you will often get error messages relating to timeouts or server load; if you see this it doesn’t mean that you’ve set it up wrong! If you’ve opted to share your location, you can verify this on the map at tracker.habhub.org.
Integrating with habhub has the added benefit of giving the radiosonde_auto_rx web interface a clickable link for each sonde to view the live data from all stations and predicted flight path and landing site.
Data upload to radiosondy.info
In the same station.cfg file as we updated above, edit the following item:
[aprs]
aprs_enabled = False
Next, set your callsign and APRS password. The APRS password is hashed from your callsign, which you can generate here. Make sure you have the correct corresponding values, and enter them here:
aprs_user = YOUR_CS_HERE
aprs_pass = 00000
Finally, if you want your location to be visible to logged-in users of radiosondy.info, enable the following:
station_beacon_enabled = True
Make sure you start the server as per the instructions in the radiosonde_auto_rx wiki and you’re good to go.
Happy hunting!